Checklist: Verifying Air Compressor Oil Filtration
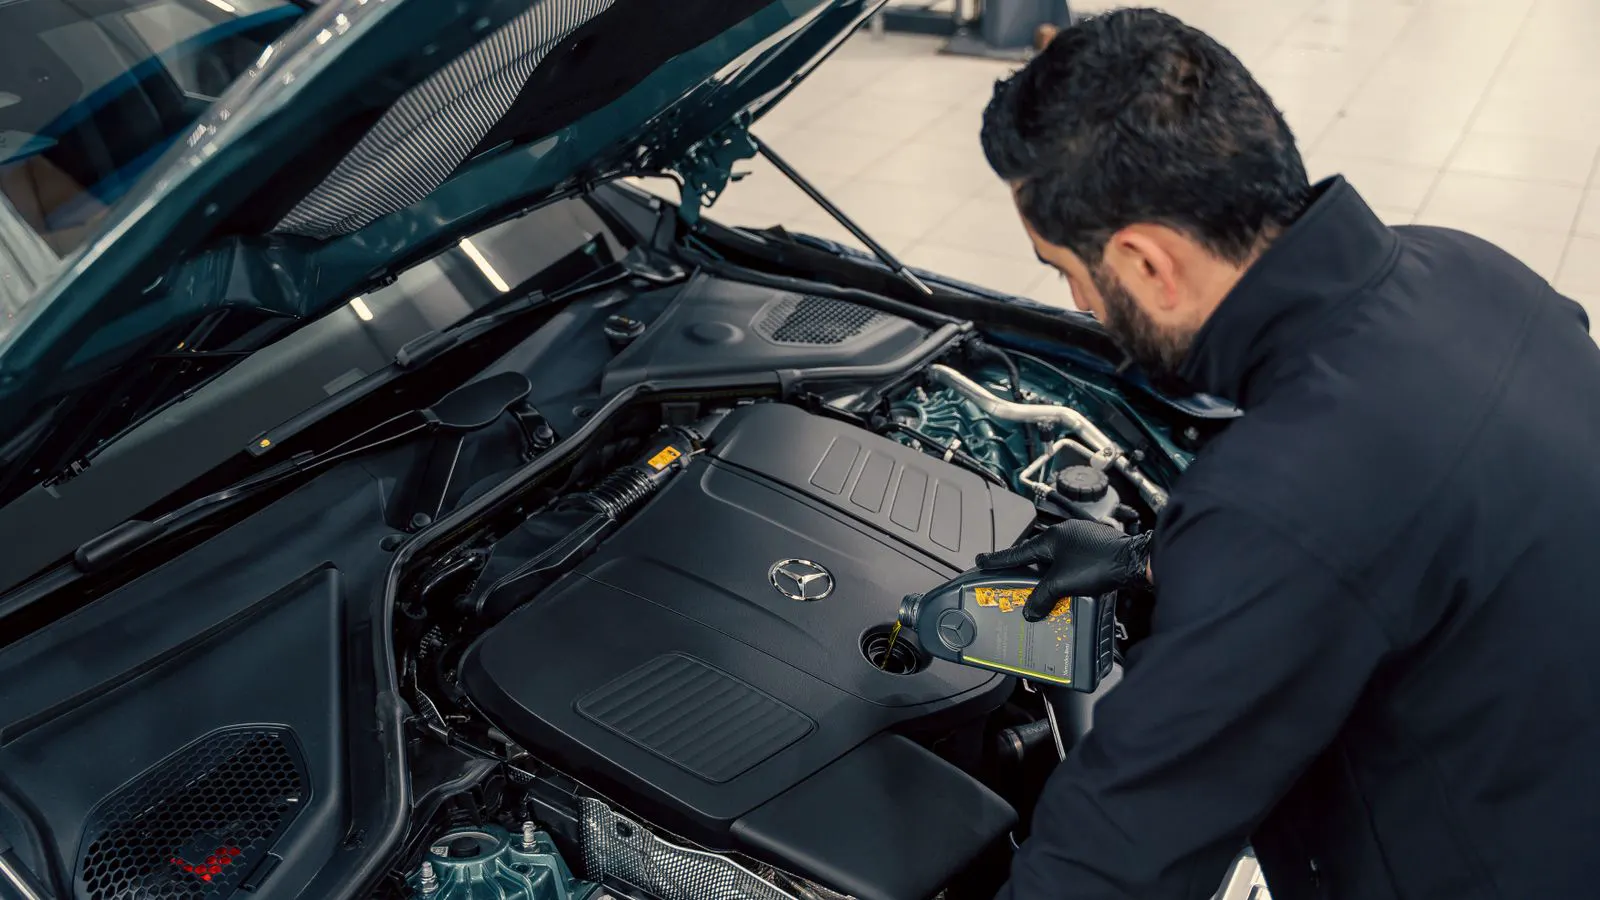
Verify air compressor oil filtration by inspecting filter elements, checking pressure drops, and reviewing service records. This checklist helps confirm that the system removes contaminants efficiently and maintains oil integrity to protect compressor components during routine maintenance.
- Inspect oil filter elements for saturation, bypass, or physical damage before every service interval.
- Record inlet and outlet pressure differentials to detect clogged filters early.
- Match oil viscosity and filter specifications to manufacturer requirements for your compressor type.
- Check for oil leaks at fittings, seals, and the filter housing during each maintenance visit.
- Keep service logs current to track filter change history and identify recurring contamination patterns.
Why Oil Filtration Matters for Compressor Longevity
Air compressor oil filtration removes particles, moisture, and degradation products from the lubricant before it reaches the compressor internals. When the system works as designed, it protects bearings, rotors, and seals from abrasive wear and chemical damage. When it fails, contaminants accelerate component life reduction and increase unplanned downtime.
This checklist is for service technicians and plant maintenance staff verifying filtration performance during routine service. It covers physical inspection, pressure checks, fluid analysis, and documentation. Use it as a field audit tool. Copy the numbered items, complete them on paper or a tablet, and file the completed form with the asset record.
Before You Start: Confirm the Right Specifications
Do not begin the inspection until you know what the system should be doing. Pull the equipment nameplate or the maintenance manual for the compressor model. Note the manufacturer recommended oil type, viscosity grade, filter rating, and service interval. If the original documentation is missing, check the filter element part number on the housing. That number identifies the correct size and media type.
Confirm the current oil in the system matches the specified type. Mixing oil types can change viscosity and alter how well the filter media captures fine particles. If the oil has been changed recently, note the date and the batch or lot number. This helps if you later find contamination and need to trace the source.
Physical Inspection of the Filter Housing and Elements
Remove the filter housing according to the lockout tagout procedure. Let the oil cool before opening the housing to avoid burns. Place a drain pan underneath to catch residual oil.
- Check the housing for cracks, corrosion, or loose fasteners. A cracked housing can draw in unfiltered air, which introduces moisture and dirt into the oil circuit.
- Inspect the gasket or O ring for flattening, nicks, or chemical swelling. A damaged seal allows oil to leak internally or lets air into the filter bypass path.
- Remove the filter element carefully. Do not use sharp tools on the media. Use a filter wrench or the tool specified by the manufacturer.
- Look at the element surface. A clean, light tan or gray element indicates normal operation. Dark brown or black saturation suggests high contamination or an overdue change.
- Check for bypass. If oil has flowed around the media instead of through it, you may see wet streaks on the outside of the element or oil on the housing flange.
- Inspect the end caps for scoring or deformation. Scoring can let fine particles through if the element is reused, which it should not be.
- Check the filter bypass valve or popper valve if equipped. This valve opens when pressure drop exceeds a set limit. If it is stuck open or the bypass tube is cracked, unfiltered oil can reach the compressor.
Pressure Differential and Flow Checks
The pressure drop across the filter element is a direct indicator of how clogged the media is. A new element has a low pressure drop. As it loads with contaminants, the drop increases.
Use a calibrated pressure gauge on the inlet and outlet ports of the filter housing. Record both readings while the compressor is at normal operating speed.
- Calculate the differential by subtracting the outlet reading from the inlet reading.
- Compare the result to the manufacturer specified maximum. Many screw compressor systems flag a filter when the drop exceeds a value set by the control system.
- If the drop is near or above the limit, replace the element. Do not run the compressor with a saturated filter beyond the specified limit.
- If the drop is very low after a recent filter change, suspect a bypass condition or a defective element. Verify that the element is seated correctly and that the bypass valve is closed.
A table can help you log these readings during multiple visits.
| Check Item | Normal Range | Action if Out of Range |
|---|---|---|
| Inlet to outlet pressure drop | Below manufacturer limit | Replace filter element |
| Housing temperature | Similar to surrounding oil | Check for blockage or bypass |
| Bypass valve position | Closed during normal flow | Inspect and test valve function |
| Oil level in sight gauge | Within marked range | Top off or investigate leaks |
Keep these readings in the service log. A rising trend over several months points to a contamination source in the line or an oil that is breaking down faster than expected.
Oil Condition and Fluid Analysis
Visual inspection of the oil sample gives a quick check, but it does not replace a lab test. During routine service, draw a sample from the oil reservoir or a dedicated sample port. Use a clean, labeled container.
- Check for free water. Water appears as milky haze or droplets at the bottom of the container. Even small amounts can cause corrosion and reduce filter life.
- Look for metal particles. Dark metallic flakes suggest bearing wear. Fine powder can come from normal wear or abrasion.
- Note the color and smell. Dark, burnt oil indicates overheating or oxidation. A sweet or chemical odor can point to additive depletion.
- If you have access to a lab, send samples for particle count, water content, and viscosity. These tests reveal issues that a visual check misses.
A filter that is clean but oil that shows high particle counts means the filter is not capturing everything it should. A filter that is saturated quickly with clean oil may indicate the wrong media rating or an oil with a viscosity that does not match the system.
Seals, Fittings, and Leak Inspection
Oil filtration is part of a closed lubrication loop. Leaks in the loop affect filtration performance.
- Check the oil cooler connections for weeping. A small leak here can draw in air and moisture.
- Inspect the suction line and discharge line fittings. Loose nuts or cracked hoses introduce contaminants into the oil.
- Look at the oil return line. If the return line is restricted, the reservoir can become agitated, creating air bubbles that the filter must handle.
- Check the filter housing drain plug. A weeping plug indicates a pressure problem or a damaged seal.
- Inspect the oil sight glass or level sensor. A dirty glass gives a false reading. Clean it during this visit.
Leaks are not just a waste of oil. They create a path for dirt and water to enter the system. Fixing a leak is cheaper than replacing a worn bearing later.
Documentation and Service Record Review
A completed checklist is only useful if you can see the pattern. Before closing the service, review the last three or four maintenance records.
- Filter change dates. Are they following the interval or the pressure drop limit?
- Oil change history. Was the oil replaced at the same time as the filter?
- Pressure drop readings. Is the trend rising?
- Oil analysis results. Are particle counts or water levels trending upward?
- Corrective actions. Were previous leaks or bypass issues fixed properly?
If you see the same problem recurring, the root cause is likely in the system design, the oil type, or the operating conditions. Do not just keep replacing filters. Investigate the source.
Red Flags That Require Immediate Attention
Stop the compressor and escalate if you find any of the following during this inspection:
- A bypass valve that is stuck open or a cracked bypass tube.
- Oil in the air discharge line, which means the oil separator or filter is failing.
- A filter element that has been physically crushed or torn.
- Oil with visible metal flakes or a strong burnt odor.
- A pressure drop that spikes immediately after a filter change, which can indicate a blocked line or a defective element.
These conditions can cause rapid damage to the compressor internals. Do not return the unit to service until the issue is resolved.
Final Verification Steps
Before you close the housing and restart the compressor, run through this final check.
- Confirm the new filter element is the correct part number.
- Make sure the gasket is new and seated without twists.
- Tighten fasteners to the specified torque. Use a torque wrench.
- Fill the reservoir to the correct level.
- Start the compressor and let it run at idle for a few minutes.
- Check for leaks at the housing and fittings.
- Record the new pressure drop reading.
- File the completed checklist and oil sample label in the asset record.
This routine takes time, but it catches problems while they are small. A filter that is changed on time and a system that is free of leaks will run longer and cost less to maintain than a unit that runs until a part fails.
Frequently asked questions
How often should I replace the oil filter?
Follow the manufacturer interval or the pressure drop limit, whichever comes first. If contamination is high, change it sooner.
Can I reuse an oil filter element?
No. Filter media is designed for single use. Reusing it allows contaminants to pass through and damages the compressor.
What does a low pressure drop after a filter change mean?
It can indicate a bypass condition, a defective element, or a measurement error. Verify the setup before trusting the reading.
Should I change the oil and filter at the same time?
Yes, as a general rule. New oil in a system with a used filter will load the filter quickly and reduce its life.
How do I know if my oil is contaminated?
Look for free water, metal particles, or a burnt smell. For a precise check, send a sample to a lab for particle and water analysis.